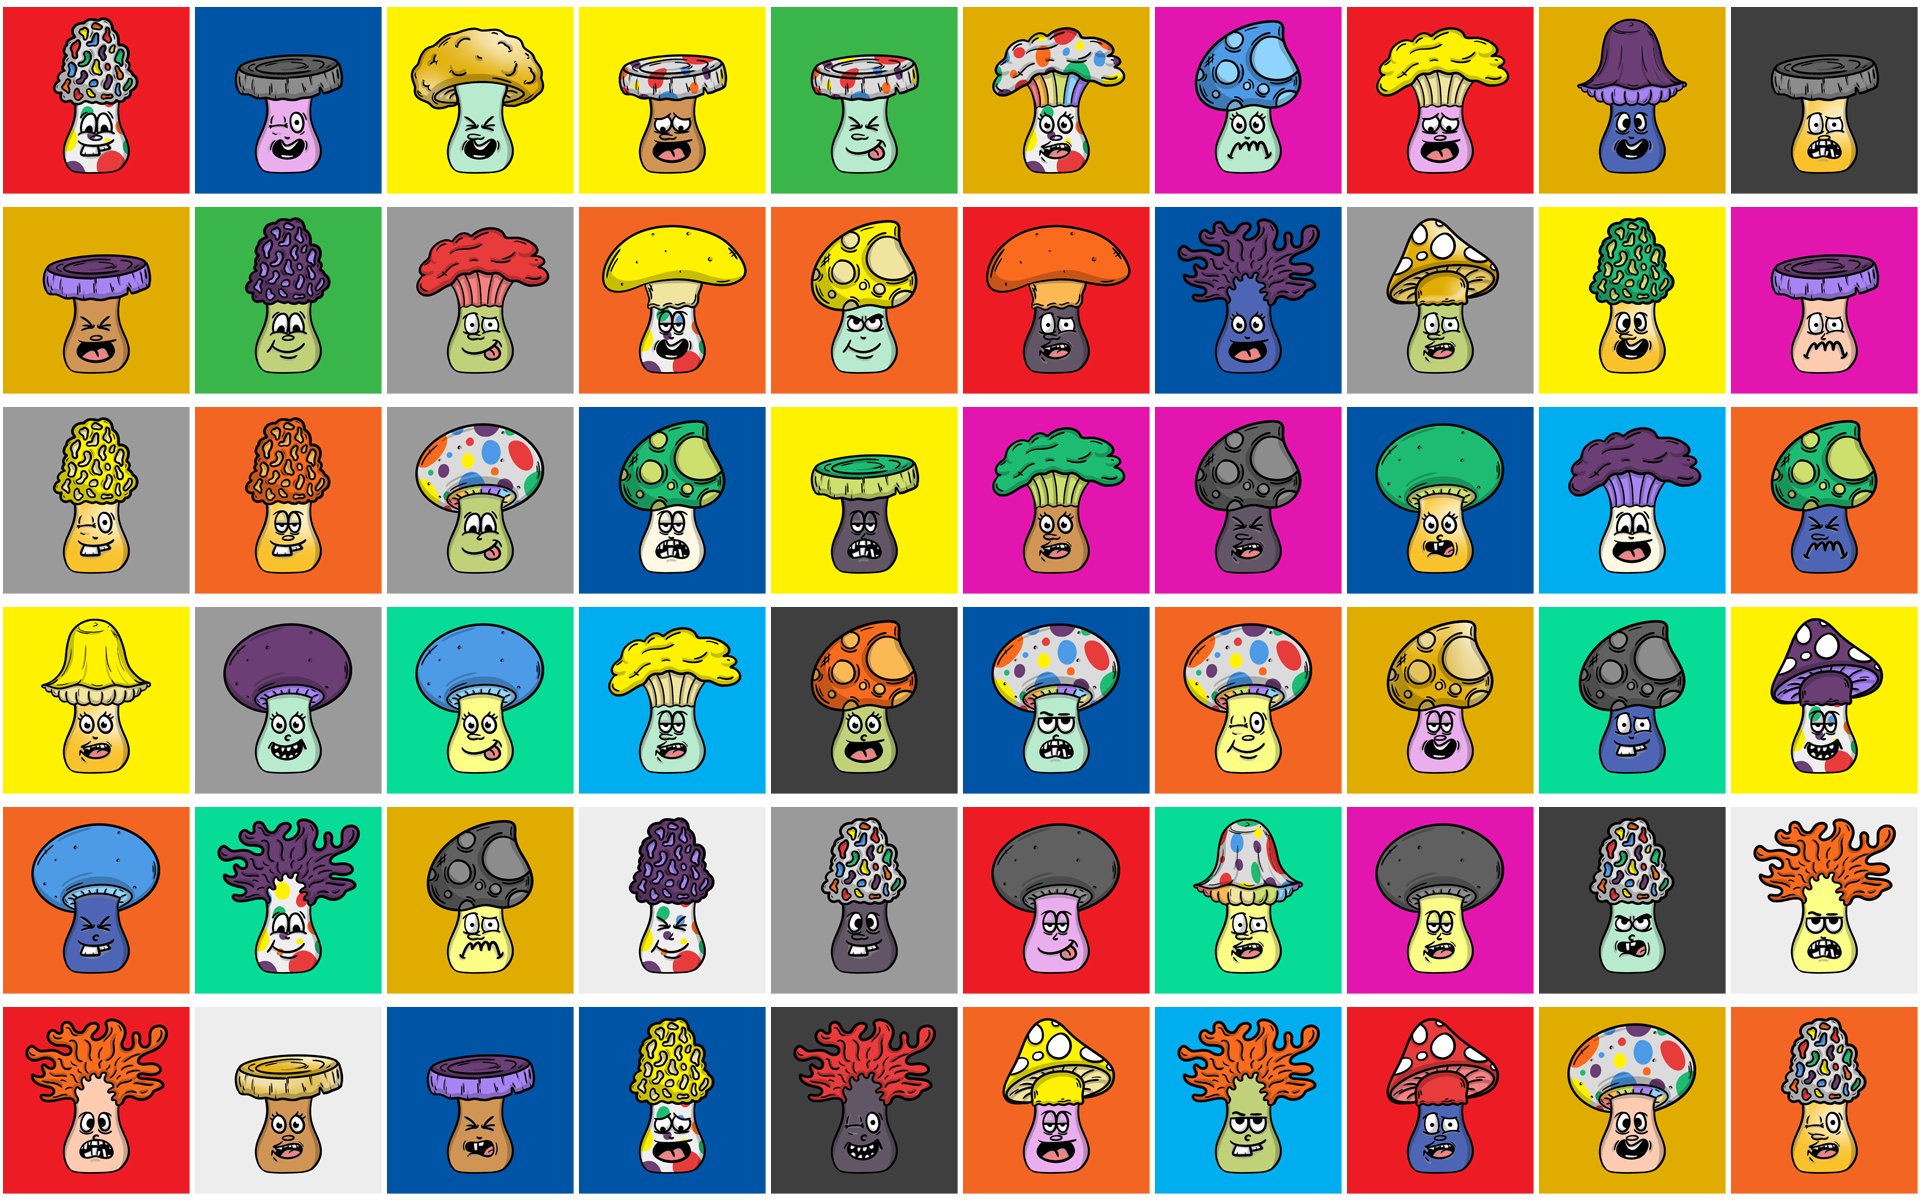
Funguy Family: Your intro to Web3 & NFTs
Explore this comprehensive guide to seamlessly set up your digital wallet, dive into the world of cryptocurrencies, and discover how to acquire your very own Funguy Family NFT.
Introduction
Welcome to the world of crypto, where decentralized technologies are revolutionizing how we transact, invest, and interact online.
Before diving into the vibrant universe of the Funguy Family, it's essential to understand and set up the tools that will serve as your gateway to web3.
Let's begin!
Setting Up a MetaMask Wallet
What is MetaMask?
MetaMask is a crypto wallet and gateway to blockchain apps. With it, you can safely store your crypto and interact with decentralized applications.
Step-by-step guide:
Visit the MetaMask website and download the extension for your browser.
Follow the prompts to set up a new wallet. Remember: never share or lose your backup phrase (this phrase can be used to import your wallet into another client, like MetaMask on a different computer).
Familiarize yourself with the user interface to ensure your wallet's security.
For more details, visit the Metamask User Guide.
Creating a Coinbase Account
What is Coinbase?
Coinbase is a secure online platform for buying, selling, and managing cryptocurrencies. It’s user-friendly and perfect for beginners.
Step-by-step guide:
Head over to Coinbase.
Sign up with your details and undergo the KYC (Know Your Customer) process.
Once verified, set up two-factor authentication for added security.
Deposit funds to buy your first crypto.
For purchasing a Funguy Family NFT, you will need MATIC.
For more details, visit the Coinbase User Guide.
Adding Funds to MetaMask from Coinbase
To explore web3, you'll need some funds in your MetaMask wallet. Here's how to send them from Coinbase to MetaMask:
Open MetaMask by clicking on the browser extension icon and click on your account name to copy your wallet address.
In Coinbase, go to your account balance, select the cryptocurrency you'd like to send (in this case MATIC), under “Network” select “Polygon”, paste your MetaMask address, and click 'Send Now'.
Confirm the transaction details and wait for the transfer to complete.
Using the Polygon Mainnet with MetaMask
Why Polygon?
Polygon, formerly known as Matic, offers scalable and efficient Ethereum sidechains, making transactions faster and cheaper — ideal for the Funguy Family platform.
Step-by-step guide:
Open MetaMask and click on the network dropdown on the top-left of the browser extension (usually set to 'Ethereum Mainnet').
Choose 'Custom RPC' and input the Polygon Mainnet details. (For detailed settings, refer to this guide).
Ensure you're connected to the Polygon Mainnet, where the MATIC balance that you sent from Coinbase will appear.
Purchasing a Funguy Family NFT
Embrace the magic of digital collectibles by purchasing your first Funguy Family NFT!
Step-by-step guide:
Navigate to the official Funguy Family Mint Page.
Browse the range of Funguys available and choose one that resonates with you. You can toggle the “Show Available” option to see which ones haven’t been claimed.
Click 'Mint', and when prompted, confirm the transaction in MetaMask.
Once successful, your Funguy NFT will be safely stored in your MetaMask wallet which you can view on the Funguy Family Wallet page.

You’re all set!
Dive into the Funguy Family community, engage with other members, and explore the limitless potential of web3 and NFTs.
Welcome to the family!


